As you may know, a Toyota Camry is usually built to last for decades with the least amount of maintenance. But that doesn’t apply to different lightbulbs in the dashboard for example. However, here you’ll see how to change them using only a screwdriver.
Actually, the following tutorial can also be helpful if you want to replace the whole instrument panel for a reason or another, simply because if you want to change its lightbulbs, you have to take the whole damn thing apart.
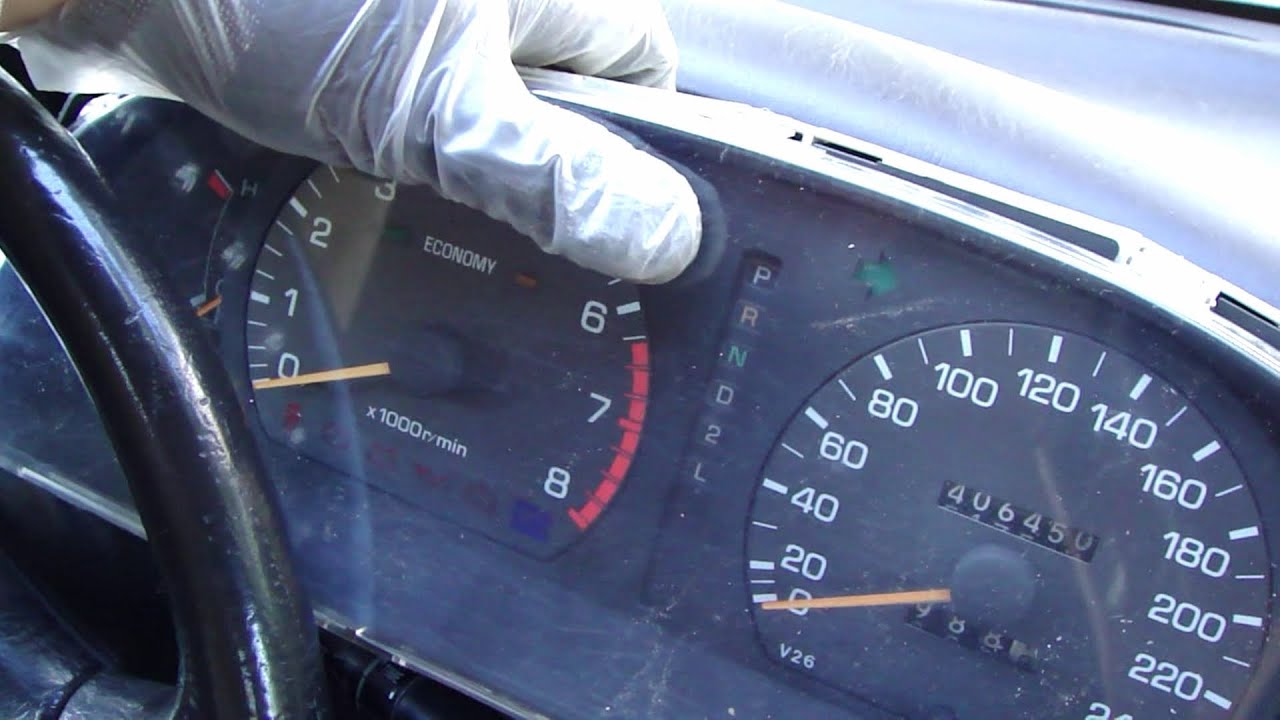
Don’t worry though, Toyota thought this day might come so it’s pretty easy to do it. The only thing you’ll need is a screwdriver and the replacement parts of course.
Get in the driver’s seat and take a look at the dash. You see that large plastic trimming piece running around the instrument panel and on the side, also containing the air vents and some buttons? Good, it looks hard to take out, but in fact it’s held in place by two screws.
The screws are located right underneath the instrument panel’s visor, you know, the top part of the dash that covers the actual dials. Remove both of them and carefully pull out the whole plastic trim. The rest of it is held in some sort of clasps so it should come out.
Don’t rush to take it out completely because you’ll need to unplug all the electric connections going to different buttons and switches.
After everything has been put out of the way, you’ll notice that the actual instrument cluster is held on using around 6 additional screws. Unscrew them, pop the instrument cluster out, disconnect the cables in the rear and now you can replace its bulbs or throw it in the trash and mount a new one in.