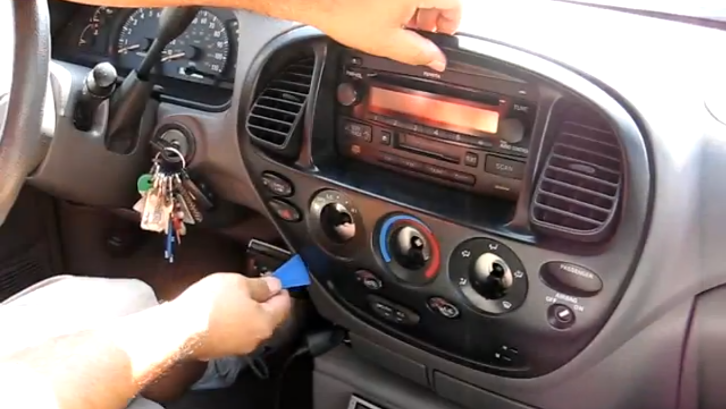
This tutorial clearly shows how vehicle interior paneling was assembled ten years ago. You actually had to remove screws in order to take a large trimming chunk off the dashboard.
If you have a 2003 Toyota Tundra and its audio head unit went rogue or you just want to swap it with another one, you’ll need a 10mm socket, a scerwdriver and a ratchet alongside a sharp tool to pry things open. Here’s how to do it:
- Pull out the three air con knobs
- Unscrew and remove the three screws placed in the knobs’ sockets
- Push the air vents upwards and remove the screws placed in their upper parts
- Use the prying tool to separate and remove the central console’s trim
- Unscrew the four bolts holding the radio set on each side
- Remove the radio and replace it with new one or repair it
- Mount everything back in the reverse order.

