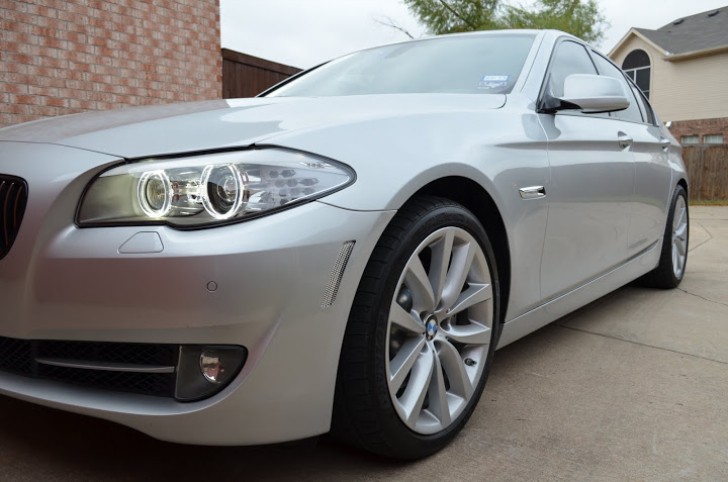
We know many of you love the way the F10 5er looks like but there is always room for improvement. We found a quick guide on how to subtly change the way you car works and makes an impression on the world, without too much expense or too much work. This is a guide on how to install wheel spacers on your F10 5 Series.
First of all you need to get everything you need at hand. For this project you'll need: a jack ( if you have an elevator, things will be easier, of course), spacers (we recommend quality parts only), wire brush, anti-seize cream and a torque wrench ( with a 17 mm deep socket).
First of all, apply you parking brake and then lift you car on the jack or the elevator and remove the wheel ( Photo no. 1)
After that, clean the rust and dirt off of the hub (Photo no 2). Take your time, this is essential for the spacers to fit exactly on the hub and avoid getting any kind of vibrations later on.
Step 3: apply a thin coat of anti-seize cream. The anti-seize cream must go only around the center hub (Photo no 3).
Step 4: fit your spacer on the hub and make sure sits flush all around (Photo no. 4)
Step 5: tighten the nuts to 90 ft-lb (122 Nm) of torque. The new bolts should be longer than the old, OEM ones.
Step 6: Repeat steps 1-5 for all 4 wheels.
Enjoy!
This is a DIY guide and, as such, you must be aware the procedures described here involve some risks. autoevolution cannot be held responsible for any possible damage that might result while following this guide.
Source: 5post.com


