Keeping your vehicle’s headlights clean is vital. Not only do they help you see the road at night but also make you visible to other motorists. With the right products, a little bit of patience, and following these easy steps, you can restore your old headlights yourself.
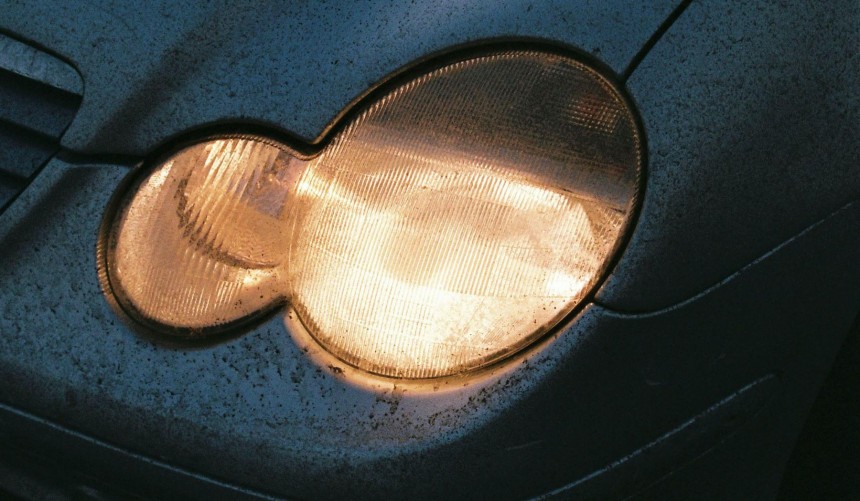
Most modern headlights are made of polycarbonate plastic, and sooner or later, they start to oxidize, becoming dull and yellow, which decreases their efficiency and makes your car look terrible.
The easiest way to solve this problem is to replace them altogether, but this is also the most expensive option. Depending on the car, a pair of new headlights, even aftermarket versions can cost anywhere from a couple of hundred dollars to several thousand.
A cost-effective alternative is restoring them yourself, especially since there are a wide variety of products specifically designed for this purpose.
You can buy a kit that contains all the products you need for this process or purchase them individually, which might be a good option if you already have some of them in your garage. These include masking tape, paste wax, polishing compound, a UV sealant, and most importantly, wet and dry sandpaper (1000 to 2500 grit). We also recommend getting a self-adhesive headlight protection film, which is widely available on websites like Amazon.
Whether you brought the materials individually or have gotten a restoration kit, you will be sanding the headlights, so taping the surrounding areas is paramount to avoid damaging the paint.
Some kits out there don’t require sanding and claim to do a magical job of restoring them just by using some wipes, but we wouldn’t recommend these products if you want a long-lasting effect.
You will notice that the yellowish surface will begin to fade, a sign that you can start using a finer grit. Before you change the sandpaper, make sure to clean the lenses first.
Repeat the process with the finer grit but now use a diagonal motion maintaining the same direction. Like before, keep the surface wet and after about 5 minutes, clean the surface again and switch to the finest sandpaper. This time, use an opposite diagonal motion for the best result.
To make sure your hard work will last, it’s very important to apply a UV sealant. Manufacturers apply such a layer on the headlights on the production line, but those three grits of sandpaper have removed any trace of it.
Apply this sealant on a soft paper towel and spread it on the whole surface of each lens, then let it cure. To make the headlights remain clear for an extended period, now is the time to apply the protection film. Most of them will offer added UV and scratch protection.
Depending on how damaged your headlights are, the outcome might not be flawless. In some cases, if you’re not satisfied with the result, you should repeat the whole process. If you still don’t’ get the desired effect, you will need to replace them, or in some cases, like BMWs, you can just replace the lenses.
The easiest way to solve this problem is to replace them altogether, but this is also the most expensive option. Depending on the car, a pair of new headlights, even aftermarket versions can cost anywhere from a couple of hundred dollars to several thousand.
A cost-effective alternative is restoring them yourself, especially since there are a wide variety of products specifically designed for this purpose.
Step 1: Clean the lenses and tape off the surrounding areas
Once you get these supplies, the first thing you should do is clean the headlights and surrounding areas thoroughly. This first step is critical for a great result, and you should use specific car-care products.Whether you brought the materials individually or have gotten a restoration kit, you will be sanding the headlights, so taping the surrounding areas is paramount to avoid damaging the paint.
Some kits out there don’t require sanding and claim to do a magical job of restoring them just by using some wipes, but we wouldn’t recommend these products if you want a long-lasting effect.
Step 2: Sand them down thoroughly
Once you masked the surrounding areas properly, the critical part of this process begins. Start with the most abrasive, which is the lowest number, in this case, 1000. Get it wet and sand in straight, horizontal strokes for about 5 to 10 minutes. Maintain the same direction and make sure to always keep the surface wet to avoid damaging the headlights.You will notice that the yellowish surface will begin to fade, a sign that you can start using a finer grit. Before you change the sandpaper, make sure to clean the lenses first.
Repeat the process with the finer grit but now use a diagonal motion maintaining the same direction. Like before, keep the surface wet and after about 5 minutes, clean the surface again and switch to the finest sandpaper. This time, use an opposite diagonal motion for the best result.
Step 3: Polish and wax the lenses
Your headlights already look better, don’t they? The next step will ensure they look even better. After you thoroughly clean them again and dry them off, pour some of that polishing compound on a clean microfiber cloth and rub it into the headlights by using circular motions. Once you finished this step, apply some wax on a damp microfiber towel (don’t use the one soaked in polish) and rub it on the lenses.Step 4: Apply UV sealant and headlight protection film
To make sure your hard work will last, it’s very important to apply a UV sealant. Manufacturers apply such a layer on the headlights on the production line, but those three grits of sandpaper have removed any trace of it.
Apply this sealant on a soft paper towel and spread it on the whole surface of each lens, then let it cure. To make the headlights remain clear for an extended period, now is the time to apply the protection film. Most of them will offer added UV and scratch protection.
Depending on how damaged your headlights are, the outcome might not be flawless. In some cases, if you’re not satisfied with the result, you should repeat the whole process. If you still don’t’ get the desired effect, you will need to replace them, or in some cases, like BMWs, you can just replace the lenses.


