While searching the world for the most capable and affordable mobile habitats, I seem to have run across so much more than a dealership experience; before you lies instructions on how to build your very own teardrop camper.
Folks, not only have I found one heck of a teardrop camper for you to feast your eyes upon but what else we're going to be looking at are instructions on how to build your very own RV. All you need are the proper gear, materials, and elbow grease; the instructions are already at your disposal.
RobotMitchell is a designer, woodworker, metalworker, and all-around craftsman from Lexington, Kentucky. While searching the internet for the next viable habitat, I ran across his instructables webpage and, lo and behold, steps to make your own mobile habitat.
However, the instructions are not completed by Robot himself but rather by his parents. Because they don't have a website or anything of the sort, Robot decided it would be a good idea to share this project with the world; thank god!
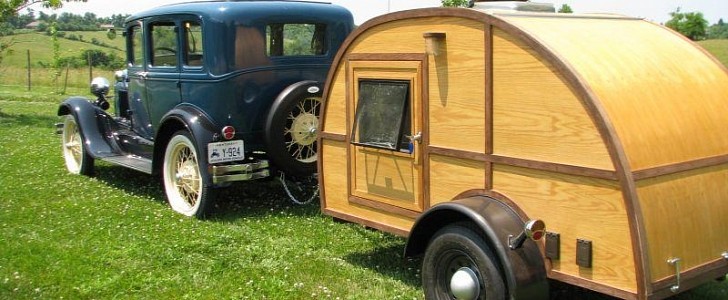
Now, having a look over the instructables web page, it would seem like the family belongs to some sort of club because this camper ends up being towed behind nothing more than a Ford Model A. Others in the club have their own era vehicles too. But, it looks just as good behind a more modern car. Time to find out what it takes to make your own towable home.
To make things easy to understand, we can simply follow along with the instructions offered, and step one of the process is building a frame. Overall, it looks like steel is the material used for the base, and with some welding, the frame is complete. With a leaf spring suspension in place, this bugger is already starting to take shape.
After the frame is welded and painted, Robot's parents create the body of this habitat. Believe it or not, nothing more than four sheets of plywood is used to create the body. But not to worry, the entire construction will be insulated; this is more of a base layer.
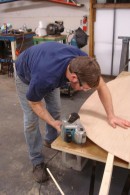
Why four pieces of plywood? Because the entire construction will be sandwiching insulation and any electrical lines in between sheets of plywood. One trick used to ensure that the doors are properly lined up when cutting is to perform the step on all four pieces at once (held together with clamps).
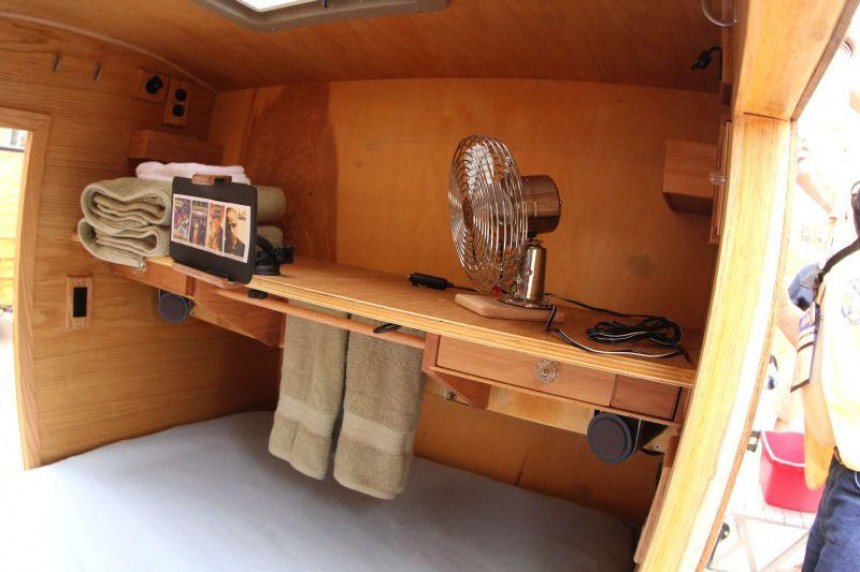
Once the walls are raised into place and the floor exposed, the team creates the galley countertop and takes measurements for things like the cooler and other amenities. It's also at this stage that interior shelving is completed, and so are the outlet covers. Separating the galley from the interior is a sheet of birch plywood.
At this point, you can already see the camper taking shape, but it's missing one crucial component, a roof. So, with ribs lining the edge of the shell, support for the roof is finally in place. Inside, another sheet of plywood is used and works as a base for the insulation to be applied later.
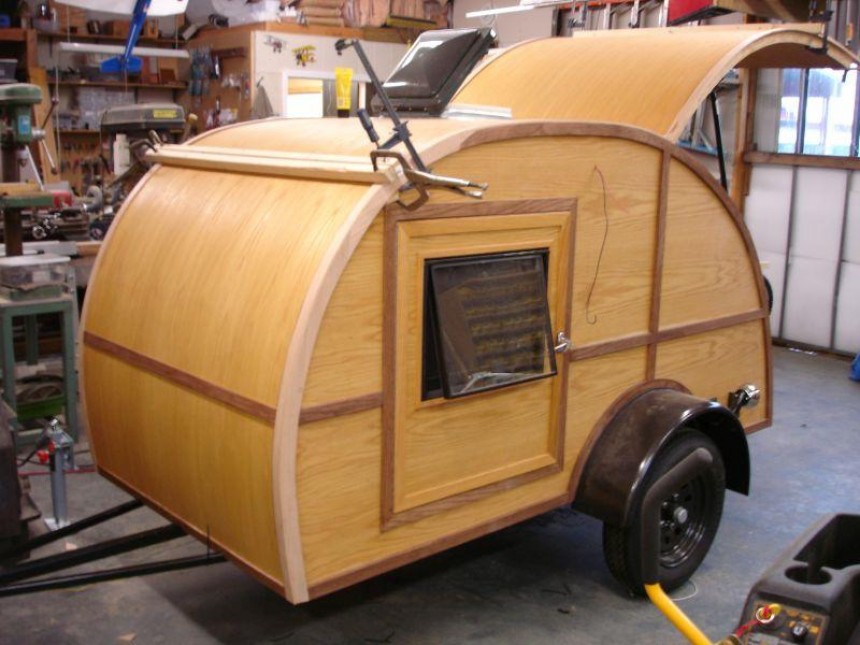
Once the wiring is pulled through the frame, it's time to finally add insulation and one final exterior plywood layer. With a swish of a magic wand, a roof vent opening pops into view, and so do the doors. But, one activity where a magic wand did not exist was in creating the galley hatch.
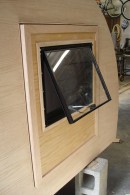
To create the galley door, an entirely new frame was required to shape the hatch to the same curvature the edge of the camper follows. With a couple of air springs and hinges to secure the door, it's onto the fenders and wheels.
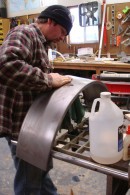
Finishing touches include a battery box, trim and finishing, and the completion of the galley in all its glory. There's even a cooler and cooktop slideout in the mix. The only thing I can spot as missing is a faucet and sink. I'd also love to have an outdoor shower and a portable toilet.
Overall, with a hitch receiver destined for a pristine Ford Model A, this camper only weighs 750 lbs (340 kg). But, what the builders mention is that this version of the camper is tuned to be handled by the Model A. If you have something more modern, you can add a bit more gear to your teardrop.
While you will need to work out a few missing things from the guidance provided, it's an easily achievable design that's sure to cost you a lot less than going out and buying your own mobile camper trailer.
The only downside may be that you need the proper hardware and knowledge to pull this off, but it should definitely be worth it in the end. Maybe even bring your own RV ideas to this mobile home. Just a piece of advice, make sure you wear proper gear when moving forward with such a project.
RobotMitchell is a designer, woodworker, metalworker, and all-around craftsman from Lexington, Kentucky. While searching the internet for the next viable habitat, I ran across his instructables webpage and, lo and behold, steps to make your own mobile habitat.
However, the instructions are not completed by Robot himself but rather by his parents. Because they don't have a website or anything of the sort, Robot decided it would be a good idea to share this project with the world; thank god!
To make things easy to understand, we can simply follow along with the instructions offered, and step one of the process is building a frame. Overall, it looks like steel is the material used for the base, and with some welding, the frame is complete. With a leaf spring suspension in place, this bugger is already starting to take shape.
After the frame is welded and painted, Robot's parents create the body of this habitat. Believe it or not, nothing more than four sheets of plywood is used to create the body. But not to worry, the entire construction will be insulated; this is more of a base layer.
Once the walls are raised into place and the floor exposed, the team creates the galley countertop and takes measurements for things like the cooler and other amenities. It's also at this stage that interior shelving is completed, and so are the outlet covers. Separating the galley from the interior is a sheet of birch plywood.
At this point, you can already see the camper taking shape, but it's missing one crucial component, a roof. So, with ribs lining the edge of the shell, support for the roof is finally in place. Inside, another sheet of plywood is used and works as a base for the insulation to be applied later.
Once the wiring is pulled through the frame, it's time to finally add insulation and one final exterior plywood layer. With a swish of a magic wand, a roof vent opening pops into view, and so do the doors. But, one activity where a magic wand did not exist was in creating the galley hatch.
Finishing touches include a battery box, trim and finishing, and the completion of the galley in all its glory. There's even a cooler and cooktop slideout in the mix. The only thing I can spot as missing is a faucet and sink. I'd also love to have an outdoor shower and a portable toilet.
Overall, with a hitch receiver destined for a pristine Ford Model A, this camper only weighs 750 lbs (340 kg). But, what the builders mention is that this version of the camper is tuned to be handled by the Model A. If you have something more modern, you can add a bit more gear to your teardrop.
While you will need to work out a few missing things from the guidance provided, it's an easily achievable design that's sure to cost you a lot less than going out and buying your own mobile camper trailer.
The only downside may be that you need the proper hardware and knowledge to pull this off, but it should definitely be worth it in the end. Maybe even bring your own RV ideas to this mobile home. Just a piece of advice, make sure you wear proper gear when moving forward with such a project.
