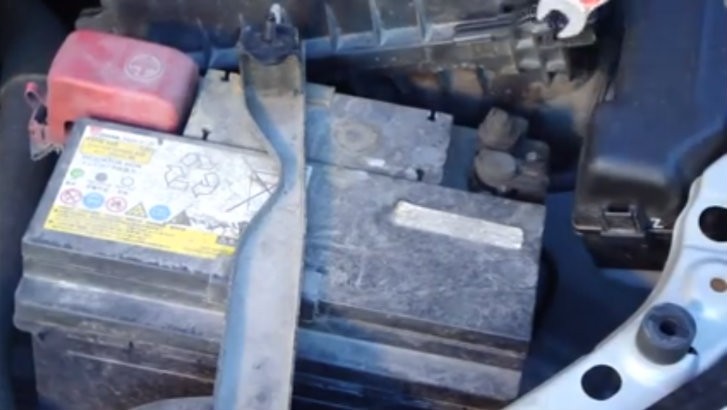
It's common sense that no car is able to operate without the electric zap provided by a battery. While most units should work just fine about four years depending on the climate and way you use your car, many batteries draw their last breath way too soon.
Why does that happen and how can even the vehicle maintenance shy motorist prevent premature wear? The answer to that will come as a surprise to the aforementioned type of driver: keep it clean! Yup, you heard that right. The secret to prolong a battery's operational lifespan is to check it regularly and keeping it neat without too much of an effort.
The most common tell-tale signs a vehicle's battery is not well maintained are as follows: humidity, dirt, corrosion, loose hold-downs, frayed or broken cables, together with a cracked cell cover or a cracked case in the most extreme cases. As many might've figured by now, humidity and dirt are the culprits that trigger premature corrosion, a condition that shortens the battery's life in no time at all. Think of the two as being the car battery's personal Grim Reaper.
So what do you have to do before you start cleaning a vehicle's battery? It's not as simple as using a handkerchief and some elbow grease to clean the thing. Before you actually start the cleaning process, there are a handful of things you need to do. First and foremost, don't smoke when working on a battery. The sulfuric acid in them generates hydrogen gas, which is highly flammable. With the engine turned off, disconnect the negative cable first.
With those safety procedures out of the way, now it's time to raise your sleeves. Before you start and after you're finished cleaning, do dry everything with a disposable lint-free rag. First you need to clean the powdery or corrosion deposits that appeared on the positive and negative terminals of the battery. While it's recommend to do it with a battery terminal brush, a DIY solution is to use an old toothbrush you don't use anymore for oral hygiene.
If you managed to get any residue on your hands, wash it down as soon as possible. Now comes the part where you coat the contacts with petroleum jelly or grease to prevent such deposits from reappearing. Inspect the battery, terminals and cables thoroughly to identify any other potential battery life shortener. If all is good, then there's only one thing left to do: reconnect the cables to the positive and negative terminals, but don't forget to fasten the positive clamp first and the negative last in order to prevent shocks that could damage your vehicle's electrical and electronic bits and bobs.
Great job! All there's left to do is a final check to make sure everything is OK. Start the engine to ensure the battery is connected properly and that's that! Now celebrate your DIY victory with a cold beverage.

