
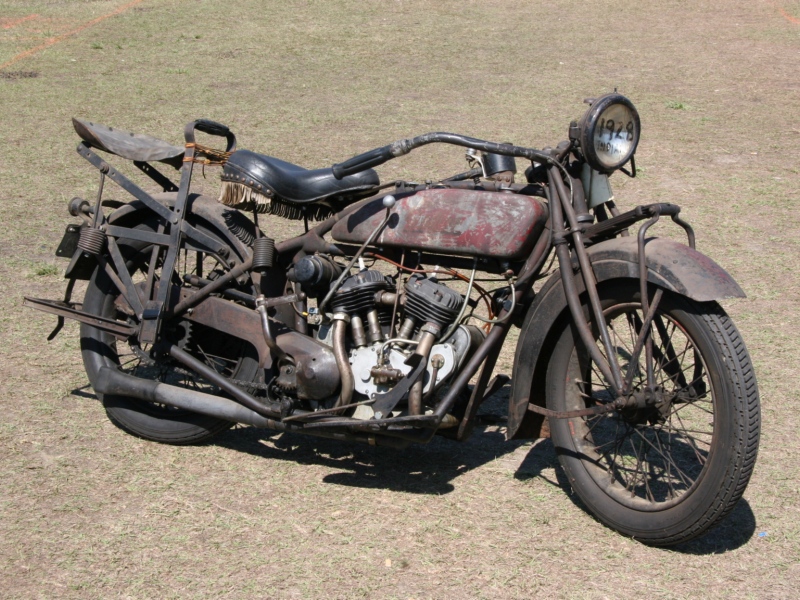
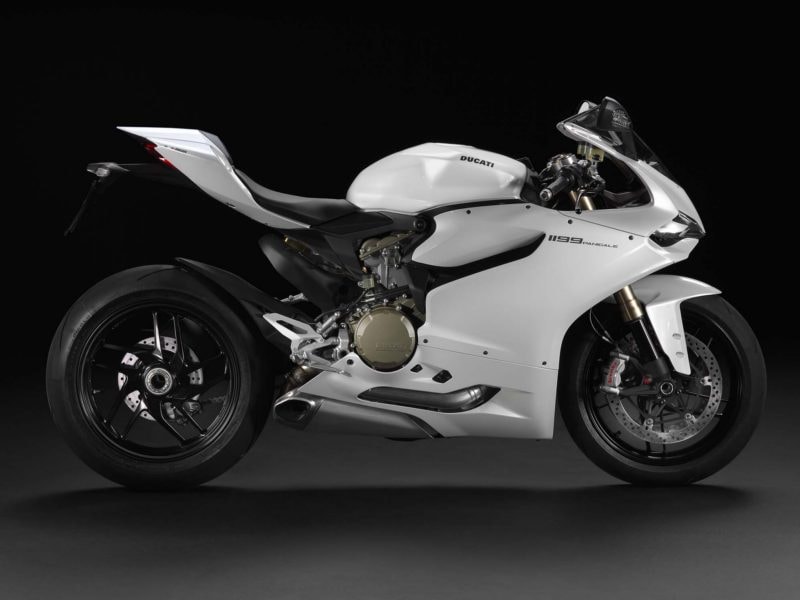
On oil and what it does
While petrol is the one thing that keeps your bike running, oil is the other important thing that keeps your bike running well. Oil-related problems can easily develop into larger-scale mechanical failures that can leave you stranded in the middle of nowhere, late for important meetings and so on. And they are also expensive to repair due to the price of the parts and lengthy service time.
Oil lubricates your whole engine and it reaches every moving piece inside it, providing less friction between the elements and helping deter heat build-up. Some of the motorcycles even come with oil radiators, as oil plays an important role in the heat management for specific models.
With so many pieces rubbing against each other under high temperature and immense stress, some of the metal slowly wears off and ends up as metal debris in your oil. At the same time, the chemical structure of oil changes over time and diminishes its lubrication properties.
These values are not strict, but it's advisable to try and hold on to them. While running your engine with the same oil longer than specified does not mean your bike will blow up, it's agreed by most riders that it's better to change it more often than the opposite. New, clean oil helps your bike run smoother, cooler and offers better fuel economy, while at the same time, keeps worries on the low side.
 Changing the oil yourself is no rockets science, but there are few dos and don'ts to this. Please be advised that the warranty for some new motorcycles implies that oil changes should be made by authorized mechanics in specialized shops, and adding a mention in the bike's records. In some cases, failing to comply with this rule may lead to a void warranty!
Some guys possess the engineering or mechanical knack and can’t learn a foreign language or can't paint. So if you really know nothing about basic mechanics, maybe it's better not to start off by yourself. Asking some friend to help you might prove both educational, help your friendship and be a nice occasion for a beer and a chat, as well.
However, if you've carried out mechanical tasks before and things you took care of didn't become junk minutes after your mending, maybe there's a good start.
Now, before you start unscrewing anything, the most important thing is to have everything at hand: being well prepared and truly ready for some workshop time, that is. You should be in a well-vented place, as bike fluids vapors and smell might cause some nausea, and if possible at a comfortable temperature. Not having to work under the unforgiving July sun comes with a lot of advantages, trust us.
Finally, before proceeding, please verify that you can afford the time: doing things hastily has proved “bad for business” more than once, and that's why you should do this when you can really afford to spend even more time than it would usually take a pro to do this. And that's because you should expect the unexpected, if we may say so.
Warm oil flows better than cold one, and that's why you are supposed to have the engine reaching the optimal temperature before draining the oil. This ensures that you'll get most of the used oil out of your bike.
Tip: a small chair is a good idea, since working around the bike may require you to squat or prone or even sit you your knees.
Tip: modern bikes have ECUs which “learn” the way you ride and create new ignition mappings. Some of them will reset the mapping to the factory state when started and left running for a certain period of time without touching the throttle. If you don't want to lose the current mapping, check with your bike's manual and make sure you throttle from time to time. The KTM 990 Adventure EFi is such a bike.
 Each bike works with a certain type of oil, which is recommended by the manufacturer as being able to deliver the best performance. That's why you should be checking with the bike's manual to see the exact type of oil that goes with the engine.
Engine oils can be mineral, semi-synthetic or fully-synthetic. Older bikes manuals recommend mineral oil because back then, there were no other types, but in some cases you'll find it hard to find those exact types. Checking with a bike mechanic or the manufacturer/seller is mandatory for choosing the right oil.
Loading your bike with the wrong type of oil will most often result in poor performance, increased oil and fuel consumption and in some cases, severe engine malfunction. Buying the right oil is one of the key steps in your endeavor and this matter is not to be treated lightly.
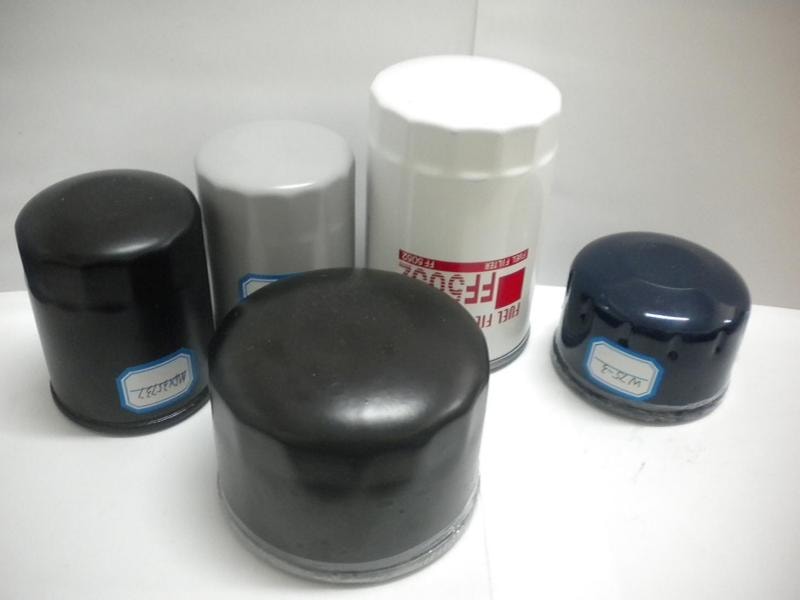
At the same time, you should be picking the right oil filter for your bike. Sometimes, there are slight differences between model years, and a bike made in 1999 may be using a different oil filter than the same model, manufactured in 2000.
When buying online, please double-check the info on the websites. There are no mistakes usually, but unless you're extremely sure about what you need, a thorough checking might be a very good idea. In case you don't find the exact part in the first place, try somewhere else and don't fall into the “this other one should work well enough” trap.
Good OEM manufacturers may have parts which fit multiple bikes, but checking the part number lists could save you time and money, at the expense of a couple of minutes spent looking for the right filter.
Note that an oil filter usually comes with a rubber o-ring, so make sure yours is in the box before you proceed any further. In case you don't have the ring, or lose/ damage it, it's possible that you find a similar one in the neighborhood stores, but there is no 100% telling whether it will do the job as it should.
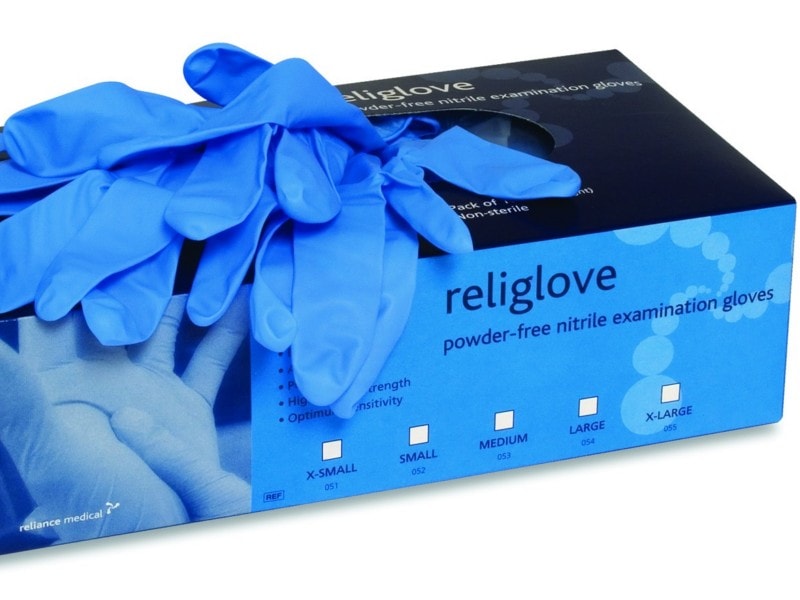
The clean group contains things you need in order to keep yourself, the bike and the place you're working in clean and tidy, because there are very few people who appreciate disarray and dirt. So in the clean group, you should have a funnel, latex or nitrile gloves, wipes and/ or some rags, an oil collecting pan and if possible, some container for the used oil.
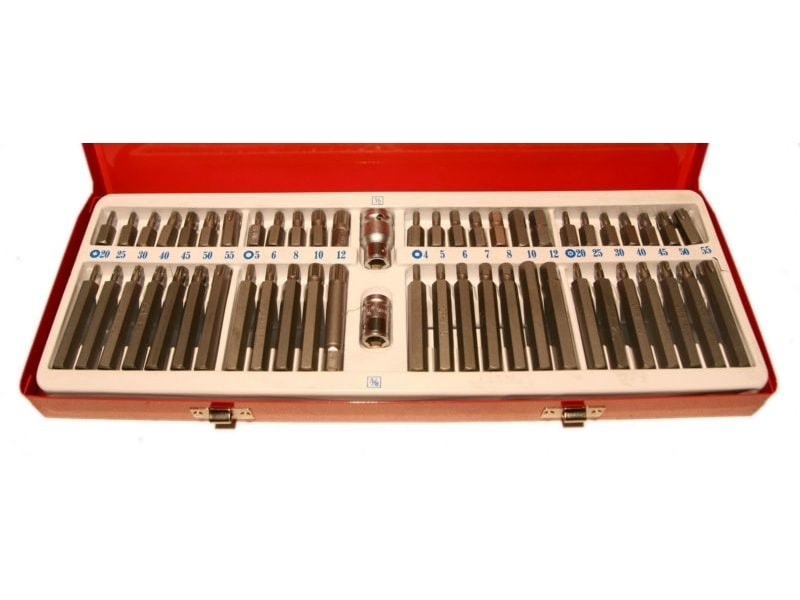
Most bikes come with an under-seat tool set which is most likely suitable for the basic work on the bike, but having a decent separate tool kit won't hurt anyone. The basic tools list for the operation includes:
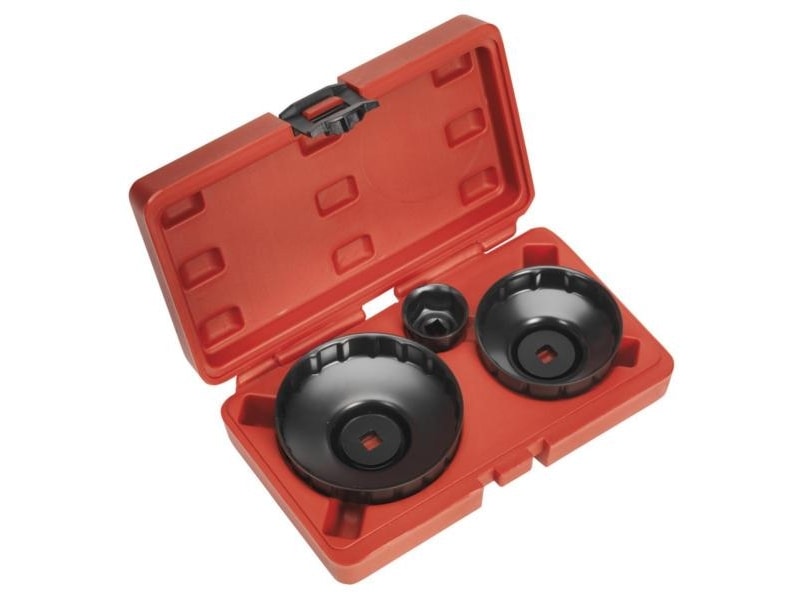
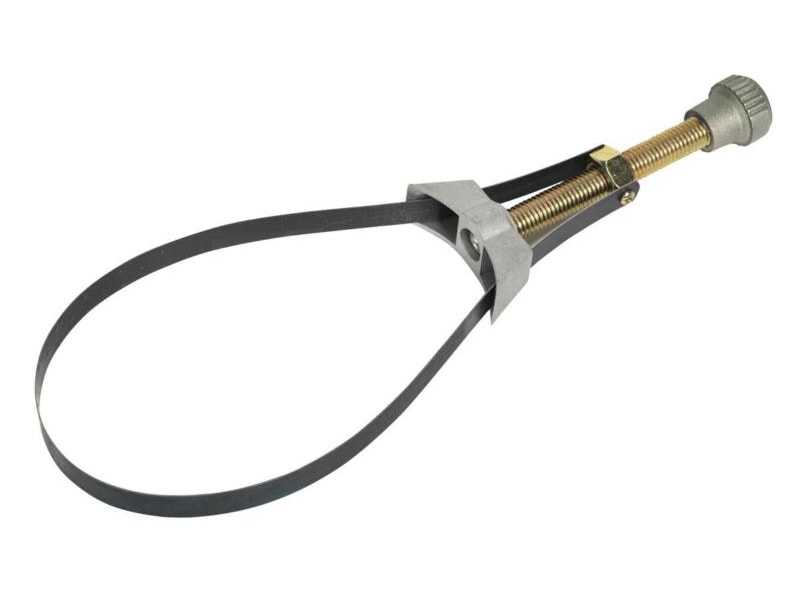
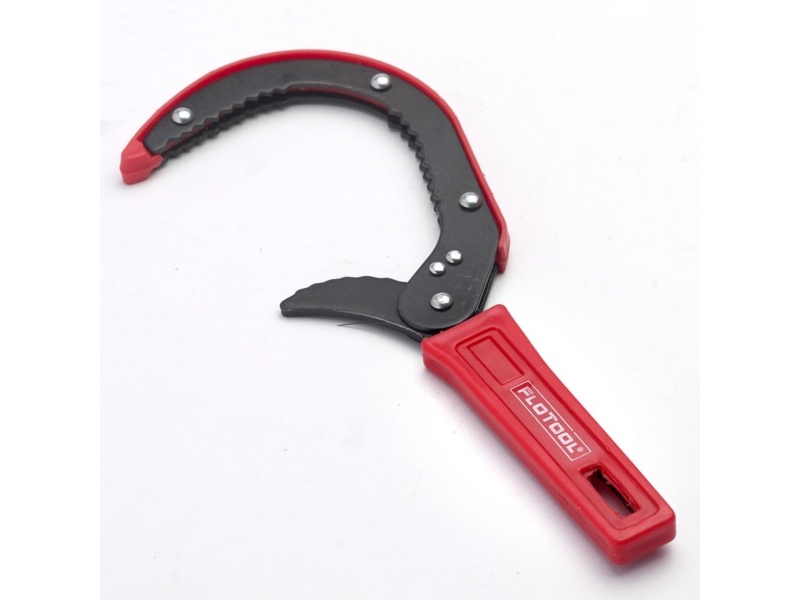
1. an oil filter wrench
2. an allen wrench set and screwdriver
3. pliers/ needle-nose pliers
4. adjustable socket wrench
5. small container for screws and caps
Tip: cleaning your wrenches after you finish the job will put a broad content smile on your face next time you use them.
 This is where the allen wrenches and sometimes screwdrivers come in handy. Removing the fairing is a fairly easy task and it should create no problem. Most of the fairings are modular and one only needs to figure out the right part to be removed. Just like every time, taking a look in the manual to shed light on some things which are not clear enough is a great idea.
If you're not the tidiest of guys (and most guys aren't), then you're prone to losing some of the fairing screws. Since the guys keeping a spare set are as rare as unicorns, having a small container to put the bolts in is a nifty thing.
If multiple fairing elements are to be taken off, which is extremely rare, you could try to do a small memory game and remember the exact order. If this type of memory is not your strong point, just label them and move on.
Tip: It's way nicer not to step on the fairing as you'll probably move around the bike, so a wise person will stow away both bodywork and screws.
Check back with us next week for the second part of the Changing the Motorcycle Oil Guide.
Oil lubricates your whole engine and it reaches every moving piece inside it, providing less friction between the elements and helping deter heat build-up. Some of the motorcycles even come with oil radiators, as oil plays an important role in the heat management for specific models.
With so many pieces rubbing against each other under high temperature and immense stress, some of the metal slowly wears off and ends up as metal debris in your oil. At the same time, the chemical structure of oil changes over time and diminishes its lubrication properties.
Time for a change
This is the moment when you should change the oil; most commonly, people change the oil every six months or 3,000-4,000 miles (4,800-6,400 km), but each manufacturer specifies the oil change intervals for their bikes, and you can usually find these values in the models' manuals.These values are not strict, but it's advisable to try and hold on to them. While running your engine with the same oil longer than specified does not mean your bike will blow up, it's agreed by most riders that it's better to change it more often than the opposite. New, clean oil helps your bike run smoother, cooler and offers better fuel economy, while at the same time, keeps worries on the low side.
Ready! Really?
The first thing you should be thinking about before changing the oil is whether you really have the minimal mechanical skills for such an operation. We've all seen people who can't tell which way to turn a screw to fasten it, and by all means, this is nothing to be ashamed of.Some guys possess the engineering or mechanical knack and can’t learn a foreign language or can't paint. So if you really know nothing about basic mechanics, maybe it's better not to start off by yourself. Asking some friend to help you might prove both educational, help your friendship and be a nice occasion for a beer and a chat, as well.
However, if you've carried out mechanical tasks before and things you took care of didn't become junk minutes after your mending, maybe there's a good start.
Now, before you start unscrewing anything, the most important thing is to have everything at hand: being well prepared and truly ready for some workshop time, that is. You should be in a well-vented place, as bike fluids vapors and smell might cause some nausea, and if possible at a comfortable temperature. Not having to work under the unforgiving July sun comes with a lot of advantages, trust us.
Finally, before proceeding, please verify that you can afford the time: doing things hastily has proved “bad for business” more than once, and that's why you should do this when you can really afford to spend even more time than it would usually take a pro to do this. And that's because you should expect the unexpected, if we may say so.
Warm oil flows better than cold one, and that's why you are supposed to have the engine reaching the optimal temperature before draining the oil. This ensures that you'll get most of the used oil out of your bike.
Tip: a small chair is a good idea, since working around the bike may require you to squat or prone or even sit you your knees.
Tip: modern bikes have ECUs which “learn” the way you ride and create new ignition mappings. Some of them will reset the mapping to the factory state when started and left running for a certain period of time without touching the throttle. If you don't want to lose the current mapping, check with your bike's manual and make sure you throttle from time to time. The KTM 990 Adventure EFi is such a bike.
What do I need?
While you can easily change your oil at home or pretty much in any other place, there are some prerequisites. When starting to work on your bike for a specific job, having all the tools you might need ready is also productive and fun. Even more, if you're not a professional or at least a skilled bike mechanic, solving an unexpected problem quickly and neatly just because you have the right tool will boost your ego and make things nicer.Engine oils can be mineral, semi-synthetic or fully-synthetic. Older bikes manuals recommend mineral oil because back then, there were no other types, but in some cases you'll find it hard to find those exact types. Checking with a bike mechanic or the manufacturer/seller is mandatory for choosing the right oil.
Loading your bike with the wrong type of oil will most often result in poor performance, increased oil and fuel consumption and in some cases, severe engine malfunction. Buying the right oil is one of the key steps in your endeavor and this matter is not to be treated lightly.
At the same time, you should be picking the right oil filter for your bike. Sometimes, there are slight differences between model years, and a bike made in 1999 may be using a different oil filter than the same model, manufactured in 2000.
When buying online, please double-check the info on the websites. There are no mistakes usually, but unless you're extremely sure about what you need, a thorough checking might be a very good idea. In case you don't find the exact part in the first place, try somewhere else and don't fall into the “this other one should work well enough” trap.
Good OEM manufacturers may have parts which fit multiple bikes, but checking the part number lists could save you time and money, at the expense of a couple of minutes spent looking for the right filter.
Note that an oil filter usually comes with a rubber o-ring, so make sure yours is in the box before you proceed any further. In case you don't have the ring, or lose/ damage it, it's possible that you find a similar one in the neighborhood stores, but there is no 100% telling whether it will do the job as it should.
Tools
The things you need when changing the bike oil can be grouped in two large categories: tech and clean. The first group brings together the new oil, filter, all the wrenches, pliers and the like: they are the tools you will use to carry out the job.The clean group contains things you need in order to keep yourself, the bike and the place you're working in clean and tidy, because there are very few people who appreciate disarray and dirt. So in the clean group, you should have a funnel, latex or nitrile gloves, wipes and/ or some rags, an oil collecting pan and if possible, some container for the used oil.
Most bikes come with an under-seat tool set which is most likely suitable for the basic work on the bike, but having a decent separate tool kit won't hurt anyone. The basic tools list for the operation includes:
1. an oil filter wrench
2. an allen wrench set and screwdriver
3. pliers/ needle-nose pliers
4. adjustable socket wrench
5. small container for screws and caps
Tip: cleaning your wrenches after you finish the job will put a broad content smile on your face next time you use them.
Getting there
Some bikes have easily-accessible oil filters and drain caps, and in such cases changing the oil is a much easier operation and will take less time. On the other hand, other bikes with a more compact design may have skidplates and fairing elements in the way, so you'll need to remove them first.If you're not the tidiest of guys (and most guys aren't), then you're prone to losing some of the fairing screws. Since the guys keeping a spare set are as rare as unicorns, having a small container to put the bolts in is a nifty thing.
If multiple fairing elements are to be taken off, which is extremely rare, you could try to do a small memory game and remember the exact order. If this type of memory is not your strong point, just label them and move on.
Tip: It's way nicer not to step on the fairing as you'll probably move around the bike, so a wise person will stow away both bodywork and screws.
Check back with us next week for the second part of the Changing the Motorcycle Oil Guide.