In the old days, removing the battery for recharging purposes or for replacing was quite a regular task. Most of today’s drivers have never tinkered with such a thing and they usually go to an auto service center for such problems. You might do that as well, but in some desperate cases, let’s say your battery goes dead in some remote location and you somehow manage to get a car battery recharger, a do-it-yourself approach could be necessary.
If your experience with cars only implies driving and refilling the windshield liquid container, the very idea of touching the battery might send shivers down your spine. With that said, let’s take a look at this, otherwise simple, task.
Obviously, the first thing you need to do is locate the battery. Regardless of your car-related knowledge, you should have no trouble recognizing the acid-based device. It’s a fairly big box with two metallic connectors, one of which is most likely covered by a plastic cap.
Now, before you rush at the poor battery with your combination wrench or socket and ratchet, a few words of advice. First of all, be sure to have the engine turned off. Secondly, check if there's any spillage from the battery. You wouldn't want to get any of the sulfuric acid on your face or hands, so always wear goggles and a pair of rubber gloves.
We didn't wear any because the battery was quite new and there was no danger, but you should, it's the safest way! Also, if you notice any severe leakage and corrosion signs, it would be wise to turn to a professional to get the job done.
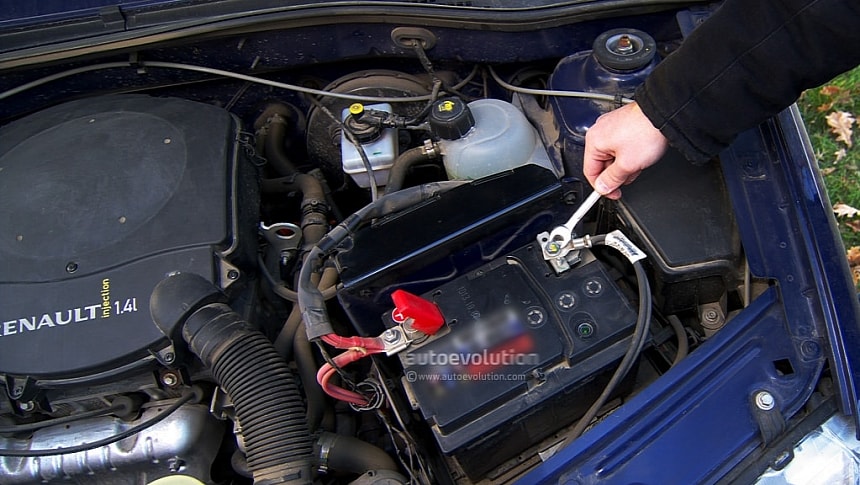
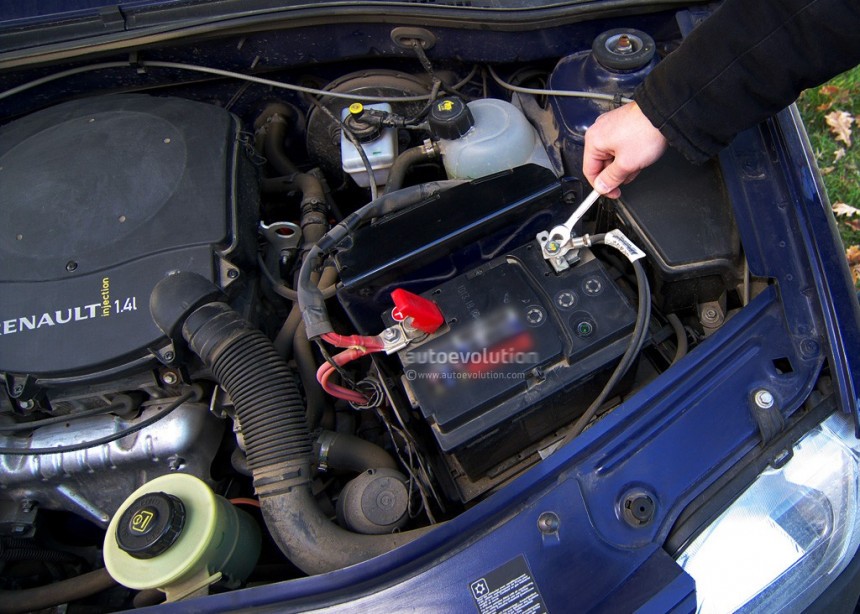
Assuming that you've done all of the above, proceed to disconnect the cables. Once again, this should be done with care, otherwise you might have a “shocking” surprise. As previously mentioned, there are two cables: positive and negative. Always remove the negative one first.
Why? Because that cable is connected to the car body and if you go for the positive one first and accidentally touch any metal part with the metallic tool you will short circuit the battery (not to mention causing a shower of sparks).
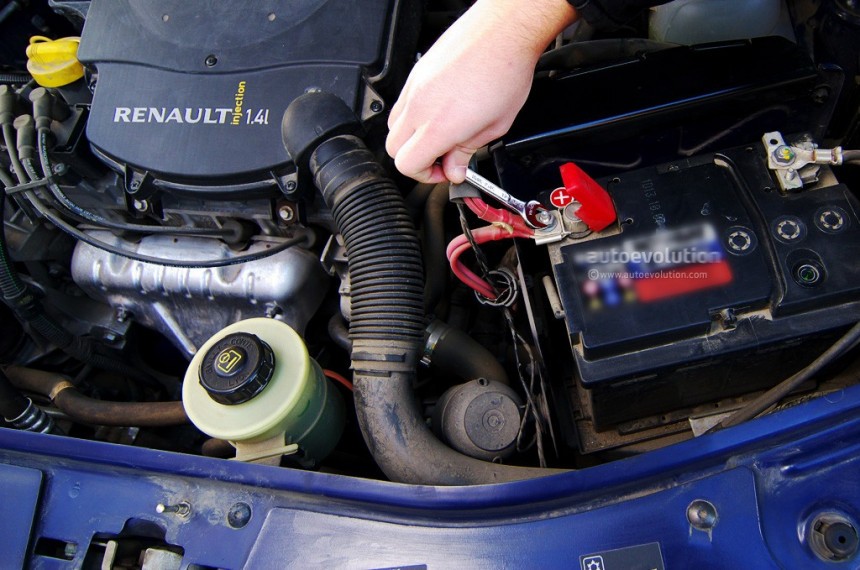
With the negative cable disconnected, proceed to the positive one. As a rule of thumb, the positive cable is usually red, while the negative one is black. However, it's best to check your battery markings just to be on the safe side.
You can now go ahead and remove the battery from its place. Keep in mind that it's quite heavy and you wouldn't want to drop on your feet or on other people's feet.
If you are installing a new battery, all you have to do with the old one is to take it to an authorized center for recycling. If, however, you are planning a thorough recharge process, you can take the opportunity and clean the terminals with a wire brush. You can do the same with the cables themselves.
After all of this is done, it's now time to put the new battery or the old, albeit recharged, battery back into place. As you might or might not guess, you will have to wire everything in reverse order. So, after placing the battery in its place and securing it, first attach the positive cable and then the negative one.
A nice finishing touch would be to smear some special grease over the terminals to prevent future corrosion. And you're all done. Now all you have to do is start the engine just to make sure everything is ok.
Obviously, the first thing you need to do is locate the battery. Regardless of your car-related knowledge, you should have no trouble recognizing the acid-based device. It’s a fairly big box with two metallic connectors, one of which is most likely covered by a plastic cap.
Now, before you rush at the poor battery with your combination wrench or socket and ratchet, a few words of advice. First of all, be sure to have the engine turned off. Secondly, check if there's any spillage from the battery. You wouldn't want to get any of the sulfuric acid on your face or hands, so always wear goggles and a pair of rubber gloves.
Assuming that you've done all of the above, proceed to disconnect the cables. Once again, this should be done with care, otherwise you might have a “shocking” surprise. As previously mentioned, there are two cables: positive and negative. Always remove the negative one first.
Why? Because that cable is connected to the car body and if you go for the positive one first and accidentally touch any metal part with the metallic tool you will short circuit the battery (not to mention causing a shower of sparks).
You can now go ahead and remove the battery from its place. Keep in mind that it's quite heavy and you wouldn't want to drop on your feet or on other people's feet.
If you are installing a new battery, all you have to do with the old one is to take it to an authorized center for recycling. If, however, you are planning a thorough recharge process, you can take the opportunity and clean the terminals with a wire brush. You can do the same with the cables themselves.
After all of this is done, it's now time to put the new battery or the old, albeit recharged, battery back into place. As you might or might not guess, you will have to wire everything in reverse order. So, after placing the battery in its place and securing it, first attach the positive cable and then the negative one.
A nice finishing touch would be to smear some special grease over the terminals to prevent future corrosion. And you're all done. Now all you have to do is start the engine just to make sure everything is ok.


